In addition to picking up knitting this weekend, I also finished my first-ever quilt: it is officially quilted, bound, labeled, folded, and packed up to ship back to Quilts for Kids. If you’ll be so kind as to hold on for a moment, I’m going to FREAK OUT ABOUT HOW I ACTUALLY MADE A WHOLE QUILT.
Ahem.
When I last posted about the quilt, I had just started quilting by using my sewing machine to “stitch in the ditch,” or stitch along the seam lines formed when assembling the top. I admit to prioritizing speed over precision here a bit:
As it turns out, quilting like this isn’t particularly thrilling. I’m finding it more of an exercise in repetition and meditation. Also, watching Netflix helps.
Once I had all of the horizontal and vertical seams quilted, the quilt looked like this:
I went back through and quilted diagonal lines as well, to comply with the QFK rules on how close quilting lines should be. The next step was to trim the batting and the backing.
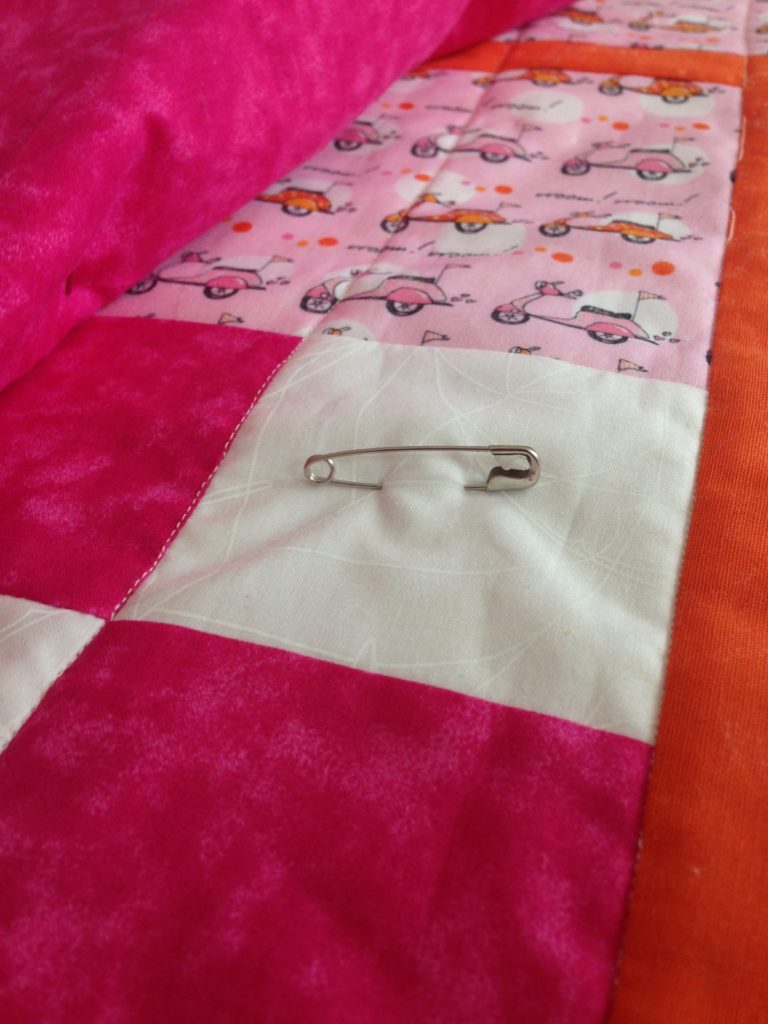
I folded the back over the edges of the quilt to bind it, rather than using a separate binding, following the step-by-step instructions in the Quilting By Machine Singer Sewing Reference Library (which I picked up for $3.00 at a used bookstore—yay!). The book recommended trimming the batting 1/4″ from the edge of the quilt top, trimming the backing 1″ from the batting, machine basting around the quilt 1/8″ from the edge, folding over the backing twice, top stitching, and then removing the basting. For what it’s worth: removing the machine basting took longer than all of the other steps combined, and I’m pretty sure I could have skipped it.
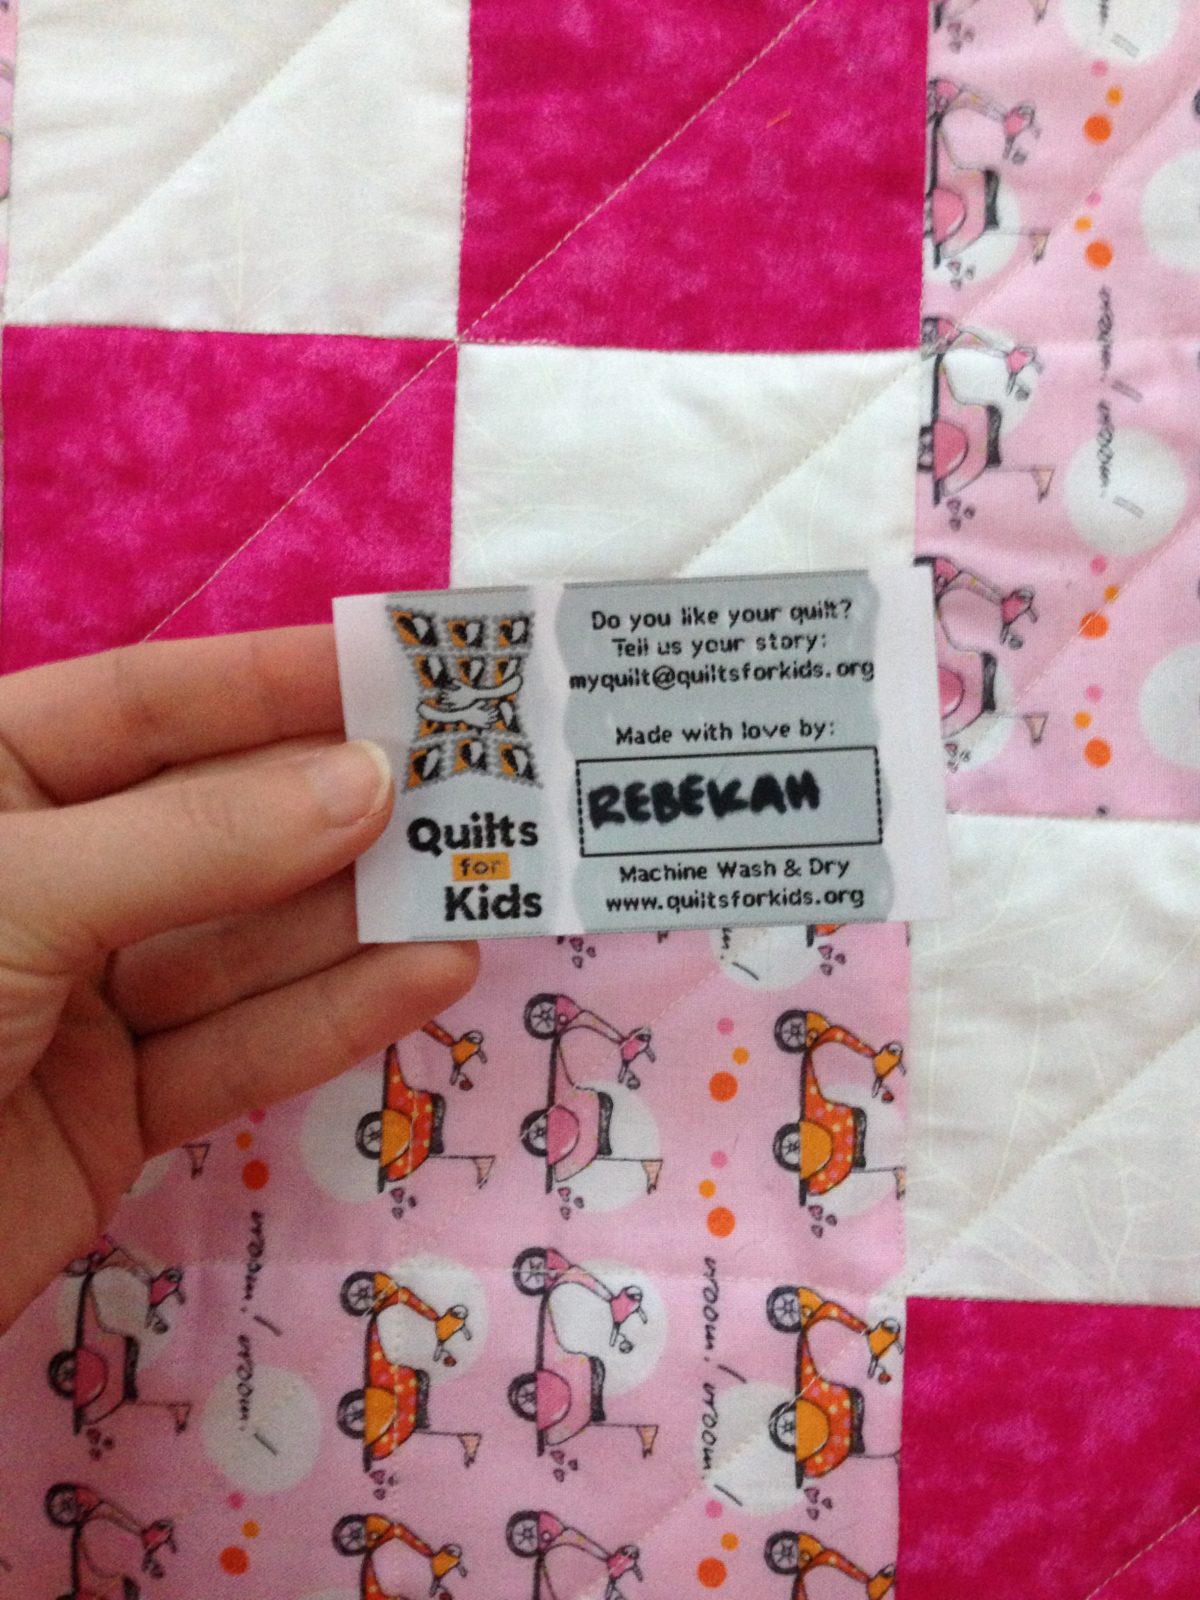
I zigzagged the binding rather than doing a straight topstitch (zigzagging helps the quilt avoid snagging on IV lines and other medical equipment). Once I finished the binding, I sewed on the label they provided, washed and dried the quilt, and got super excited at the thought of sending my first ever quilt out into the world to be used and (hopefully) loved. YOU GUYS! I MADE A THING!
Quilts for Kids quilt
Finished size: 36.5″ x 41.5″
PATTERN: Simple four-patch provided by Quilts for Kids
FABRIC (all provided by QFK): hot pink and white batiks; solid orange; pink and orange “vroom! vroom!” scooter print from Monica Lee Timeless Treasures (Google tells me this is no longer in production, but you can pick it up on Etsy or eBay)
NOTIONS: Mettler Silk Finish Cotton Thread in Muslin, Quilter’s Dream 100% cotton batting (Request, which is their lowest loft)
TIME: I made this quilt over three weekends (see part 1 and part 2), working maybe 5-6 hours per weekend. The fabric came pre-cut, which definitely saved time. On the first weekend, I assembled all of the four-patch blocks and started sewing them into rows. On the second weekend, I finished the rows, sewed the rows together, added borders, pinned together the quilt sandwich, and started quilting. Last weekend, I finished quilting and bound the quilt. Ta-da!
1 thought on “A quilt for a kid, part 3”