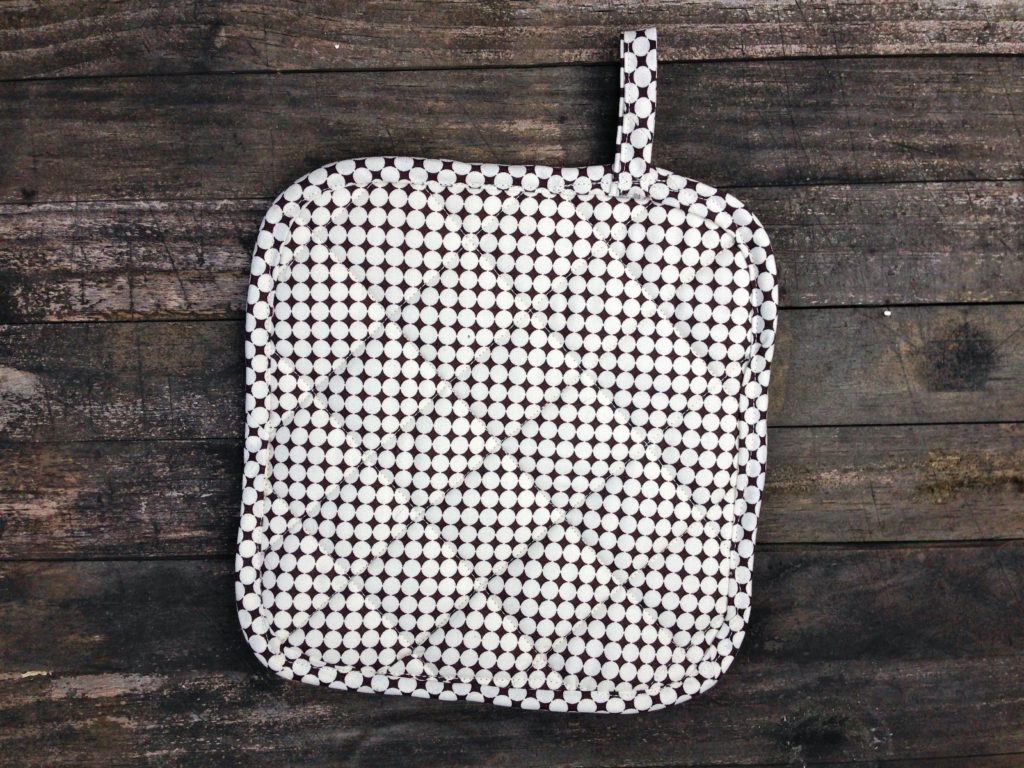
After my first try at quilting a potholder, I decided to give things another go using straight quilting lines (as opposed to crazy free quilting) and rounded edges (necessitating actual bias tape, which I made myself using this diagram and this tutorial). Verdict: success! Though there were a few bumps along the way:
- I had trouble attaching the hanging loop—I couldn’t figure out how to hide the raw edges without folding everything over over and creating crazy amounts of bulk
- I had wanted to hand finish the binding, but I ended up going the quick & dirty route with my machine. The top stitching is all over the place.
- I didn’t do the math correctly when making the initial square for the bias tape, and ended up with much smaller/awkwardly cut tape than I wanted. I made it work, but it wasn’t as pretty or even as it could have been.
These were outweighed by the good things:
- The quilting on this is simple, but I like the way it came out.
- Rounded corners! Without too much horrid bunching in the binding!
- Despite the missteps, I made my own bias tape! New skills = awesome.
PATTERN: of my own devising, inspired by this tutorial from Birch Fabrics
FABRIC: a print (I discarded the selvage and don’t remember what it was—sorry!) I bought at the Cambridge Quilt Shop
BATTING: One layer of Insul-Bright; two layers of Warm & Natural
THREAD: 100% cotton quilting thread, also from the Cambridge Quilt Shop