Winter Makes + What’s Next

Two projects I managed to cram in between the Plague of Death and winter vacation.

I had high hopes—so high as to be delusional—of hitting the ground running after Thanksgiving and making Christmas and Hanukkah gifts and decorations galore. Instead, I came down with a cold that had me at home in bed for over a week.

I manage to pull myself together by mid-December, though, and finish a couple of projects. I’m recording these more for posterity than for inspiration: the photos are few and grainy, and only of the end results, not of the process.

Christmas Jammies

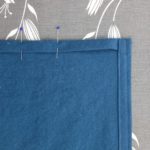
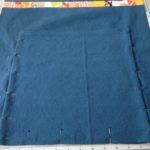
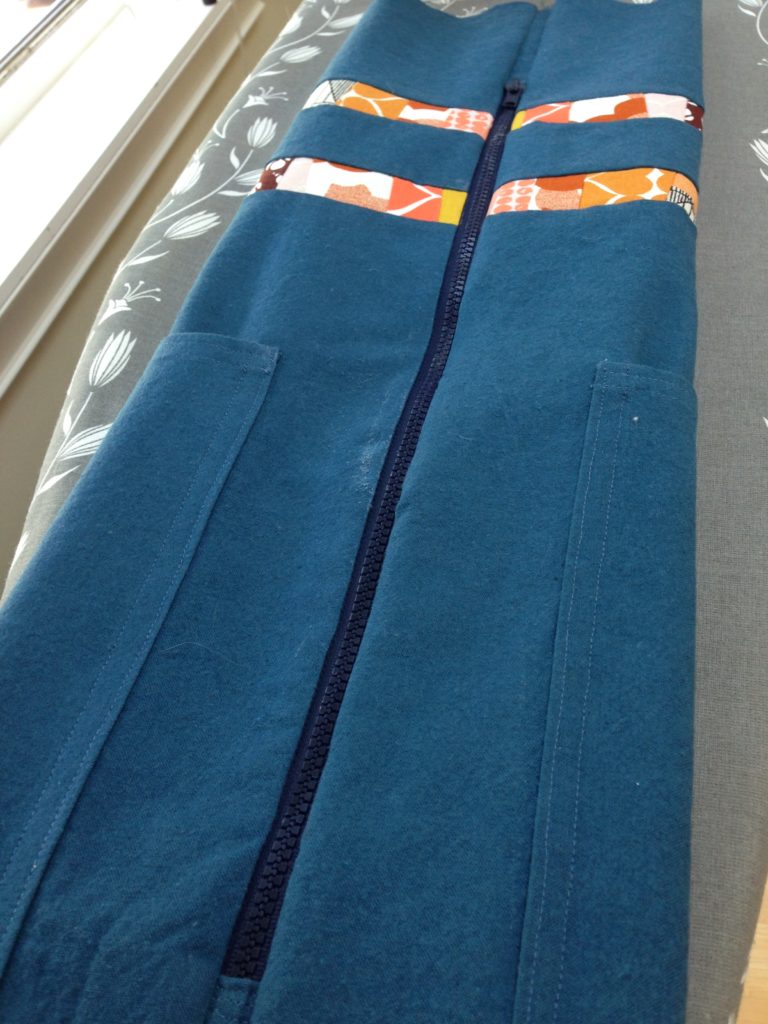
First up: a gift for Mr. Jones, who politely requested “adult footie pajamas with a hood and a zipper and a flap” for Christmas. It’s surprisingly hard to find a single pattern with all of these features. I looked at Simplicity 2853 (hood and zipper, no footies) and Simplicity 1731 (drawstring hood and zipper, patch pockets, no footies) before settling on Kwik Sew 3713, which has no hood and no zipper and no flap, but has footies and pockets.

I bought and downloaded the PDF version, which was…challenging (Step one: download and install a proprietary viewer. Step two: download a license for that viewer. Step three: download three different pattern files. Step four: weep as they print.). Indie pattern designers, you definitely win this round.

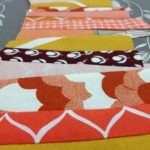
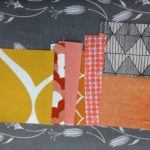
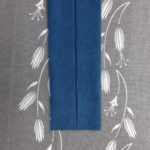
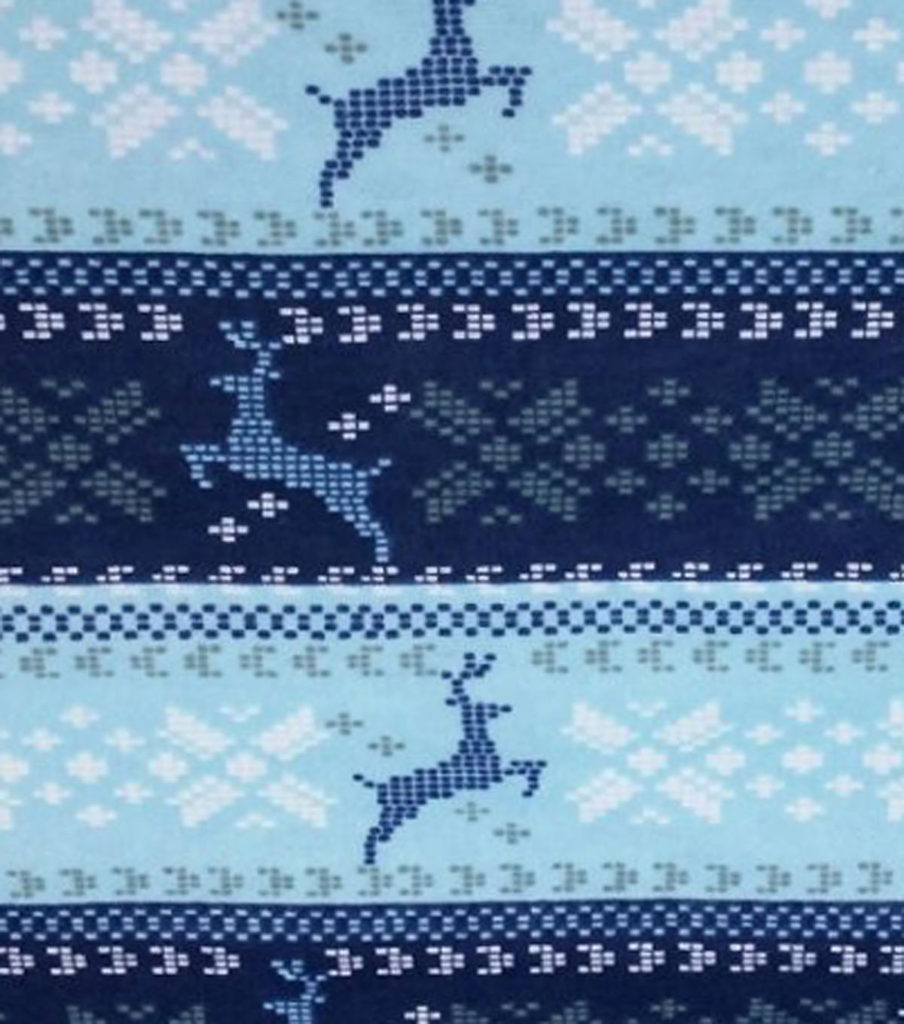
Mr. Jones and I scouted out both online and in-person shops for the appropriate fabric, but the one print he liked—check out the amazing deer/Fair Isle below—was sold out. At this point it was roughly December 17, and I decided to table the footie pajamas in favor of something a bit more realistically accomplishable before our planned gift exchange on the 19th.

Amazing Christmas jammies, you were sadly not to be.

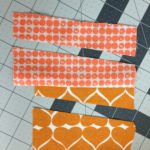
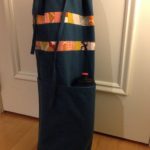
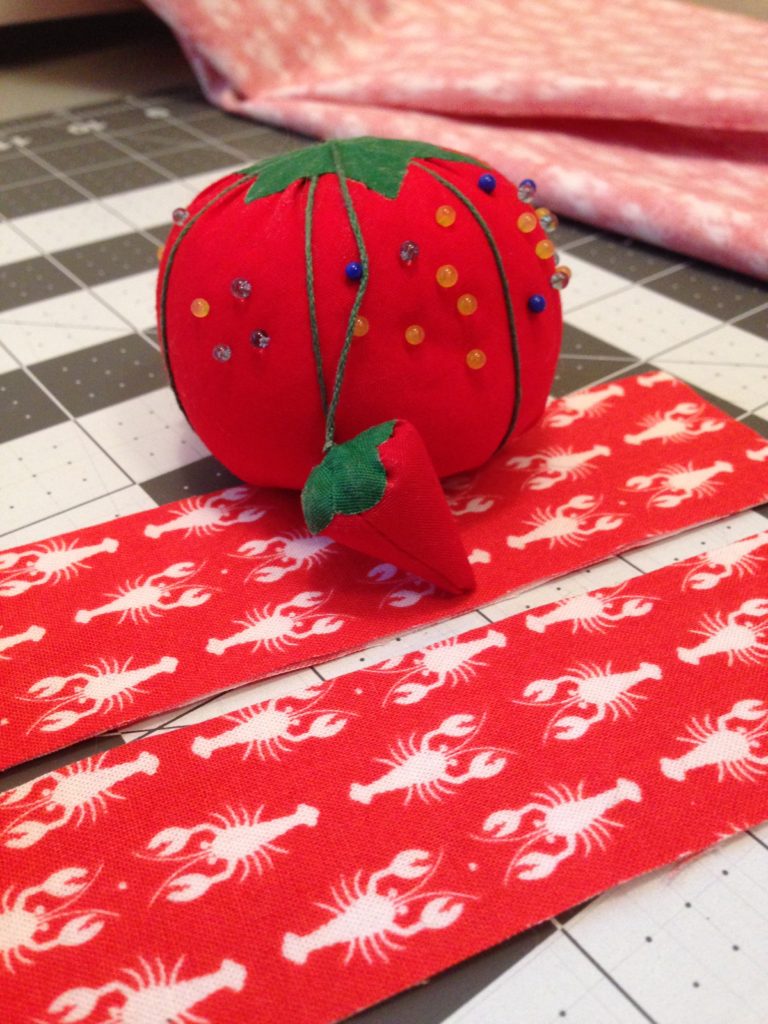
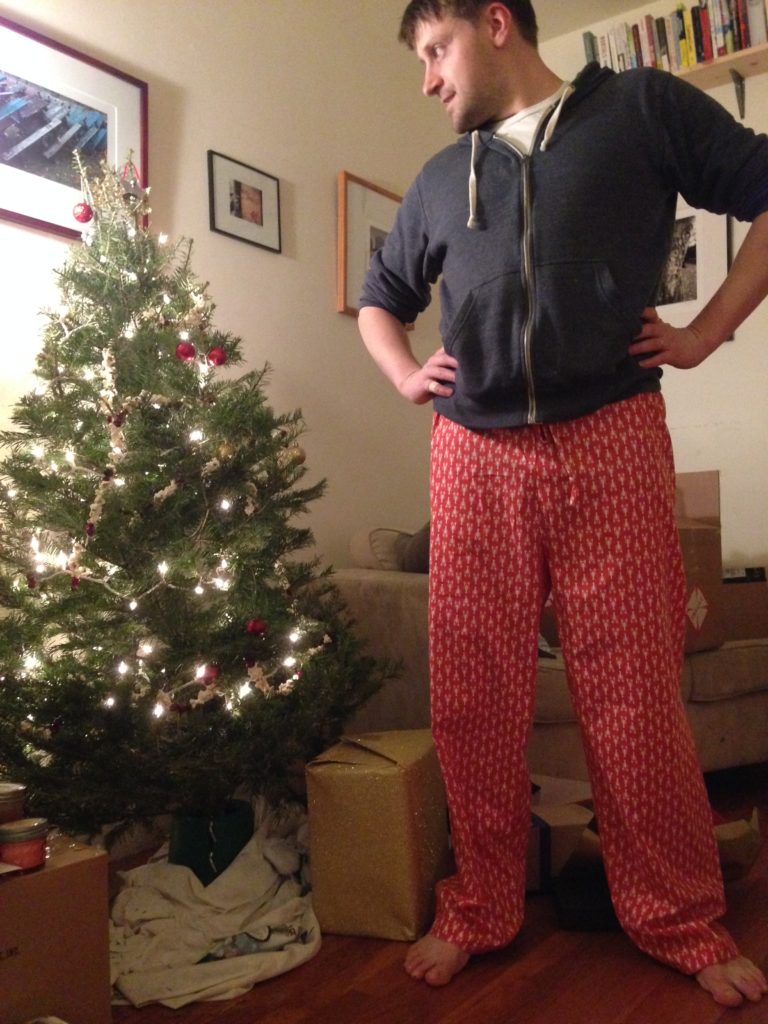
Enter: the lobster pants. One free PDF pajama pant pattern from Simplicity and three yards of lobster-print cotton from Fabric Corner later, we were in business.

Lobsters!

Hello, you creepy cockroaches of the sea.

This came together super quickly, despite the fact that I may or may not have cut one of the pieces out backwards, almost had a meltdown trying to turn the drawstring inside out with a safety pin (lesson: use a chopstick), and realized after I had completely finished that the elastic waist was too big, meaning I had to rip open the waistband, cinch things up, and resew.

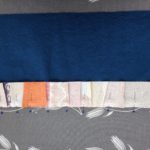
All that mess (which, thankfully, Mr. Jones didn’t witness) aside, these turned out pretty well:

2014-12-18 22.25.08

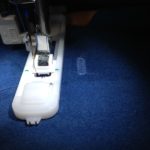
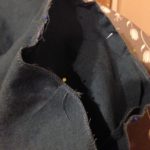
Sadly, by the time we made it from Massachusetts to Michigan to Kansas, the thread I used (Mettler 100% Cotton All Purpose) had started to break in several places, opening up the seams. Has anyone else had this problem? A bit of research tells me that a cotton-wrapped polyester might have been a better choice. After another pass over the seams (thanks, Mom!), they seem to be holding up fine for now.
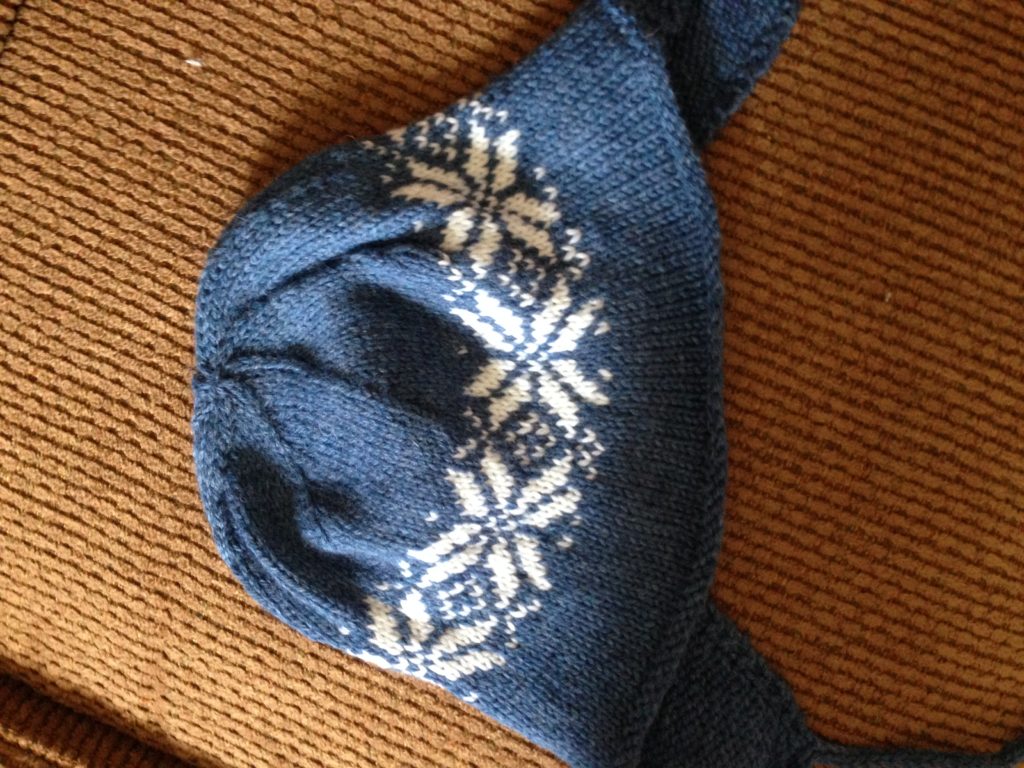
Snowflake Hat

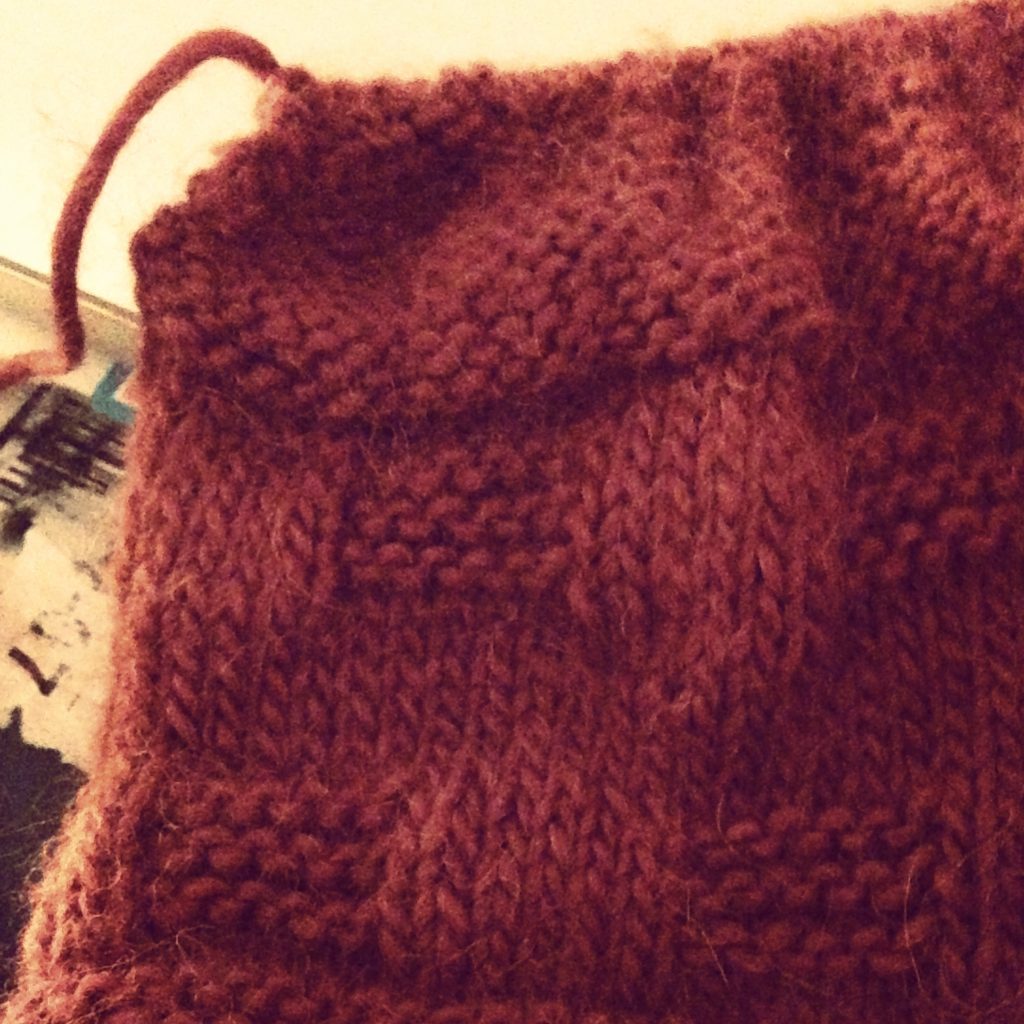
Next up: knitting for my sister, who asked for an earflap hat. I couldn’t bear to buy one, so instead I swung by Gather Here’s Saturday knitting circle armed with the free Norwegian Star Earflap Hat pattern from Tiennie Knits on Ravelry.

This was my first time using DPNs (though I only used two at a time, so it wasn’t as exciting as it sounds), my first time knitting an i-cord, and—most thrillingly—my first colorwork attempt. Once I got the hang of the earflaps (which require you to pick up the loop between two stitches and knit into that in order to increase), this came together quickly: a couple of evenings, and it was done (slightly more detailed notes are on Ravelry, in case you’re interested).

ear flap hat

I have the earflaps knitted for a second version, this time for my brother, who saw my sister’s version and got a little jealous. A sign of knitting success?

Next Up

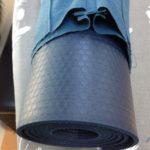
I came back from winter break with a loooooooong list of things to make, including both projects I’ve had sitting in my studio for months and brand new ones, inspired in part by the gift of a serger (!!!) from Mr. Jones’ parents, pillow forms and a great bulletin board for organizing my notes and bits of ideas from my parents, and yarn from both sides. I’m toying with making that list public as a way to motivate myself to work through it, but I’m a little nervous about broadcasting my laziness so publicly. Is anyone else struggling with how dark it gets, and how early? These days, I come home from work and want to curl up in bed right away. Any thoughts on how to beat this, aside from “take your knitting to a tanning bed”?

Zippy Top #2: Scrubs Edition

In which I shoot for “summery mint green top” and end up with…hospital scrubs.

My first Zippy Top was actually what I think fancy fashion seamsters would call a “wearable muslin”—a test run that turned out to be something I could actually wear outside of the house. My second attempt was…the opposite of that.

Zippy Top 2: Front

Check it out, guys: I MADE SCRUBS.

scrubs

In the other versions I’ve seen, the Zippy Top (a See Kate Sew pattern) looks modern and cute. On me, it looks…plain. (A friend’s comment about my first version: “very nice! but could use a little more decolletage.”) I mentioned last time that I might add a pocket for visual interest, but as we can clearly see here, no dice.

Part of this awkwardness can definitely be attributed to my fear of working with prints (hello, “natural” colored muslin! hello, timid green cotton lawn that in retrospect was definitely not a good choice for this pattern!). Another part of it can be chalked up to my still-in-their-infancy sewing skills, which mean my neckline isn’t as crisp as it good be. Yet another part is probably how I’m shaped: this top doesn’t seem to sit well on my narrow shoulders.

More evidence of the awkwardness:

Zippy Top: Side and Back

Aside from the general “I’m designed to camouflage puke” appearance, a couple of specific oddities:

Moment of truth: I have no idea which way is the “right” way to line up the side seams, as all the pattern says is to “match front and back side seams with right sides together.” Experienced seamsters, HALP. Notice all the wrinkling/pooling around the armscye*, both front and back? I had a little less of this last time, when I matched the side seams from the bottom up (meaning the hemmed edge of the arm opening overlapped quite a bit from front to back) before sewing them together. I suspected that the fact that I had hem overlap in the armpit area meant I did it wrong last time, so this time, I matched the side seams up starting at the front and back end of each arm opening, meaning the bottom hem was uneven but the ends of the arm opening matched up. Given the extra wrinkling around the arms in this version, though, I’m now wondering if I did things correctly last time, and maybe the front and back pattern pieces aren’t correctly drafted to match. Or, more likely, I am awkwardly shaped (see above).

Second: there is a lot (a lot a lot) of extra fabric hanging out in the back. Again, an open call to experienced garment makers: should I be blaming this on some weirdness of my own spine? And if so, how do I fix it?

Finally: what a horrible, horrible fabric choice for this top. Lawn is among the recommended fabrics, but this green isn’t doing me any favors. On top of the iffy color, it’s also completely see-through, meaning the facing creates a weird racerback effect. Also: SO MANY WRINKLES. I finished ironing this literally five minutes before taking pictures.

I suspect all issues (barring the fabric-related ones) are the fault of either my inability to correctly interpret patterns or my inability to correctly adjust patterns to fit my body (which is the whole point of sewing one’s own clothing, so this is something I’ll eventually learn how to do. Any and all pointers to good resources welcome). But to sum up: I won’t be wearing this in public, unless I’m attending in costume as a surgeon.

* Fancy seamster word for “armhole,” which, upon reading out loud to myself, I realize needs a fancy synonym. Way to go, seamsters.


Zippy Top #2: Scrubs Edition

PATTERN: The Zippy Top from See Kate Sew

FABRIC: “Pale Jade Green Lawn” from Denver Fabrics, which appears no longer to be available. This pale green lawn is similar.

NOTIONS: 8″ avocado green YKK zipper from Zipit, 100% cotton thread purchased at Gather Here

TIME: Somewhere between 90 minutes and two hours on Friday morning to cut out and do everything but hem; 20 minutes tonight to hem.

Weekend project: Zippy Top

In which I wear a self-made garment in public.

I’ve had See Kate Sew’s Zippy Top printed and ready to go for at least a month now, but I’ve been too busy to tape it together, cut it out, and actually make the thing. I also had some concerns about the overall shape and length, and wanted to do a test run before I cut into the navy lawn I’ve been saving for this.

I had some time yesterday morning, so I went for it. The pattern is quick to tape up—the pages don’t overlap by much, so I didn’t bother cutting off the margins (I did this for the Date Night Dress, and it was easily the most time consuming part of the whole project).

Kate includes a shorten/lengthen line, so I took the liberty of adding four inches. I’ve seen quite a few versions of the top online, and depending on the person, the hemline falls anywhere between “jeans waistband” and “just north of the hips.” I like my tops a little longer, so I wanted to create some room to play.

Speaking of playing: I took this opportunity to experiment with “pattern weights.” (Mr. Jones came home midway through and very gently asked why all of our beans and tomatoes were in the bedroom.)

Zippy Top

The top, as promised, is incredibly quick to put together, even if you (like me) use French seams (for fun!). It’s also forgiving if, say, you (like me) read the 3/8″ seam allowance as 5/8″ and end up making everything a tiny bit smaller on accident (oops). I started taping the pattern together at around 9:30 and had a top in hand and ready to wear to the SoWa Open Market by 12:15, where I bravely wore it into Grey’s Fabric & Notions and ended up evangelizing the pattern to the very friendly proprietor.

Zippy Top

I used a speckled cream natural muslin I had laying around and a red-orange zipper from Zipit—the goal was only to test out the fit, but I ended up liking the combination enough to add this to my closet. Overall, it’s a fairly simple top—I think I like the print versions I’ve seen better, and I might add a pocket or something to perk this up a bit. Lengthwise, adding 4″ put it at perfect tunic length for me, but the muslin felt a little too Little House on the Prairie for me at that length, so I decided at the last minute to cut around 3″ off. It hits me a tiny bit below my hip bones, which I like, so I’m planning to add an inch to future versions. I think adding this tiny bit of length reduces the potentially boxiness a bit (though the super lightweight fabric also helped), which for me is a bonus.

Verdict: wrinkly, but otherwise quite lovely!

Umbrella Prints Trimmings Competition 2014

In which it takes me far too long to make a simple yoga mat bag, but the sweet bits of Umbrella Prints fabric make it worth it.

I’m pretty sure I screwed up my time zone conversions and am submitting this a few hours late, but OH WELL. I had fun.

The Umbrella Prints Trimmings Competition was a surprisingly interesting challenge. The total amount of fabric you receive is pretty slim, so it takes some creativity to figure out how to make the most of it. My goals were:

  1. Do something I hadn’t done before: namely, improv piecing.
  2. Make something I’ll use (almost) every day: a bag for my yoga mat, with pockets so I’m not awkwardly stuffing my jacket pockets full of keys, wallet, phone, and a water bottle.
  3. Showcase the Umbrella Prints fabric as well as I can.

My approach to showing off the (awesome) fabric was to combine the bright yellows and oranges and firey crimsons of the “Earth” packet I chose with a muted blue canvas, so they would really pop. My approach to improv piecing was to just run with it. My approach to making a yoga mat bag was also to just run with it, which turned out to be the hardest part of this whole thing.

So first: the fabric.

Gorgeous, right? The second I saw the Earth packet I knew that’s the one I’d be using.

Once I opened up the packet and ironed out the few wrinkly bits, the improv piecing bit came easily. I found this post by Kelly of My Quilt Infatuation to be helpful in bolstering my courage, and then I pretty much went for it. My goal was to end up with two long strips of randomly assembled bits of fabric.

Next step: throw caution to the wind, ignore the many excellent patterns and tutorials out there, and decide you want to a) use a zipper; b) have that zipper be shorter than the length of your bag; c) draft a pattern entirely from scratch.

The pocket and strap bits went well, as did inserting the strips.

I even managed to insert the zipper without too much fuss!

Umbrella Prints Trimmings Competition 2014

And then I crashed hard into the brick wall of “yoga mats, once rolled up, aren’t actually that bendy” and “cotton canvas, especially when lined, isn’t actually that stretchy.” In other words: see how the zipper is centered along the length of the bag? I could slide my mat into one end, but in order to slip the other end of the bag up over the mat and zip up the bag, I needed to bend the rules of matter.

Fail. I almost gave up at this point, but Mr. Jones convinced me to spend some quality time on our porch this weekend with my seam ripper and a helpful beverage.

After ripping out the zipper, cutting and sewing in two new additional panels (one for the exterior and one for the lining) to make up for the lost circumference, and resigning myself to the use of a drawstring instead of a zipper, I was back on track.

Bonus: using a drawstring meant I needed sturdy openings for said drawstring, which means I got to sew buttonholes for the very first time! After that, all I had to do was turn down one edge to make the channel for the drawstring and attach the bottom panel and strap.

Voila: bag.

Ganging aft agley

I have a lot (a lot) of projects planned.

So many beautiful plans I’ve made, and so little time I’ve spent working on them. I’m writing this mostly to give myself a firm nudge by publicly committing to making beautiful things, rather than just dreaming about them.

So: work continues on the hat, which at this point looks like a slightly misshapen rectangle (I started with 84 stitches—I swear, I counted them thrice—but found myself working with over 90 the other day. How?) and has barely escaped the clutches of my overly curious cats multiple times over the past few weeks. (My beautifully wound ball of yarn is now an unwound tangle, thanks to them.) I’m nearly at the finish line, I think, and am hoping to be even closer after tackling the last few dozen rows at tomorrow’s office knitting club and again at Saturday’s Crafter’s Brunch at Gather Here (do you go to this? do you want to go? I’m thinking about bringing muffins to help introduce myself and convince people there to be nice to me and teach me how to properly cast off).

knitting progress

Work also continues(-ish) on the peach and gold quilt, which I thought I had blogged about much more but am now realizing I haven’t. To catch you up:

This is the first quilt I ever started making, thanks to the “Start Quilting” class at Cambridge Quilt Shop. It was relegated to the back burner while I rushed through the Quilts for Kids quilt, but I finished the top over a month ago, pieced together the backing without having to buy any new fabric (quite proud of this), and finally sandwiched it together a week or so ago. I’m looking forward to finishing it, which seems like it will mark my transition from someone who made a quilt once to someone who actually makes quilts, plural.

Other upcoming projects: a chenille blanket, another simple four-patch quilt, a Noodlehead Super Tote to protect future knitting projects from inquisitive kitties, a Zippy Top or two from See Kate Sew, and something still TBD for the Umbrella Prints 2014 trimmings competition, which is due May 30 so should probably be bumped nearer to the top of the list.

Typing it all out now is a bit overwhelming, but I suppose that’s all the more reason to start?