Burlap mishap

In which I try and fail to make a pillow cover out of a burlap sack.

I sat down this weekend to finally make a pillow cover out of a burlap coffee sack that’s been sitting around the house for several months. I took a few photos of it to help me remember how it originally had been stitched together, then starting cutting it apart to lay it flat. And then I promptly discovered how horrible and lint-y burlap is and abandoned the project. Memorializing the coffee sack here so I don’t feel too guilty about giving up on it.

Quilts for Kids

I signed up to make a quilt for a kid who could use a quilt.

I spent a few hours this weekend planning out my next few quilting projects and wishing I lived closer to a giant fabric warehouse where I could look at every shade of cotton solid next to every other shade instead of fretting about whether “mustard” or “curry” or “sunny” (which, to be honest, all look pretty much the same online) would go better with a particular print.

Then I woke up this morning and stumbled across an old Craftsy blog post on quilting for charity, and remembered that the reason I took up this hobby in the first place is not to make works of impeccable art but to make usable things—things that people can toss over the backs of their couches, curl up with when watching a movie, find their cats tunneled under when they come home from work, and spread over their beds each morning. (If they happen to look nice, too, well—that’s a plus.)

In that spirit, I’ve signed up to make a quilt for Quilts for Kids, a project that works with hospitals and shelters across the country (PDF) to donate handmade quilts to kids who either have life-threatening illnesses or are survivors of abuse. Quilters can sign up for a free kit, which comes with a pattern and all the necessary materials (donated by fabric companies or paid for by other organizations), or can buy their own fabric to use. I’m excited to make something truly usable, and I can’t wait to get started.

“Sew Together Bag” by SewDemented

In which I boldly install four zippers.

Sew Together Bag

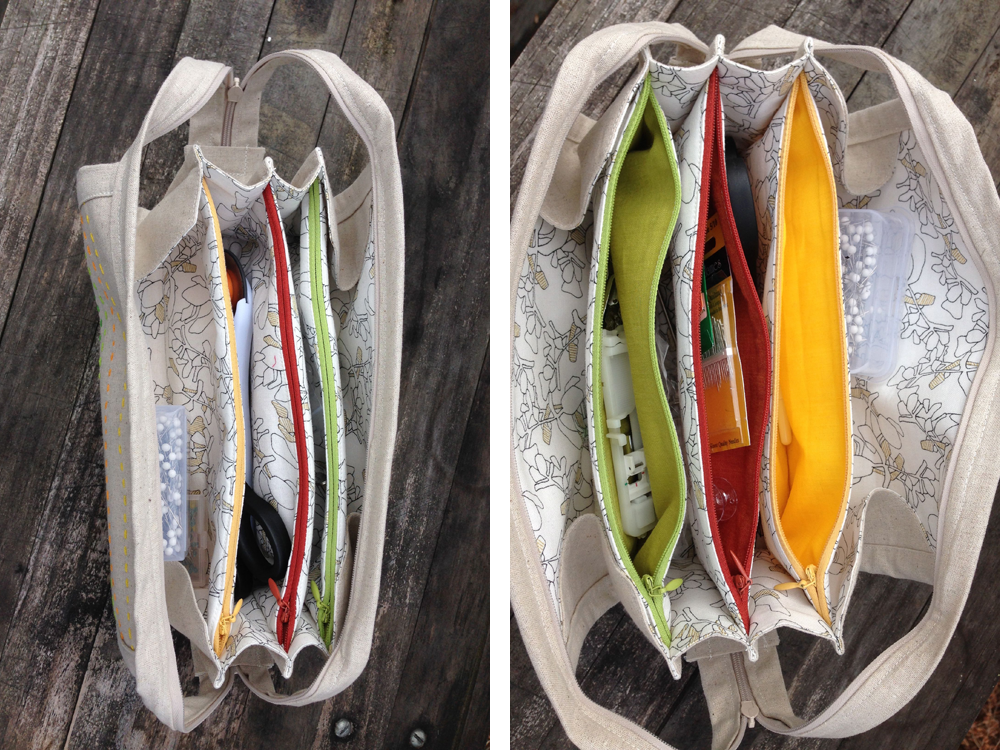
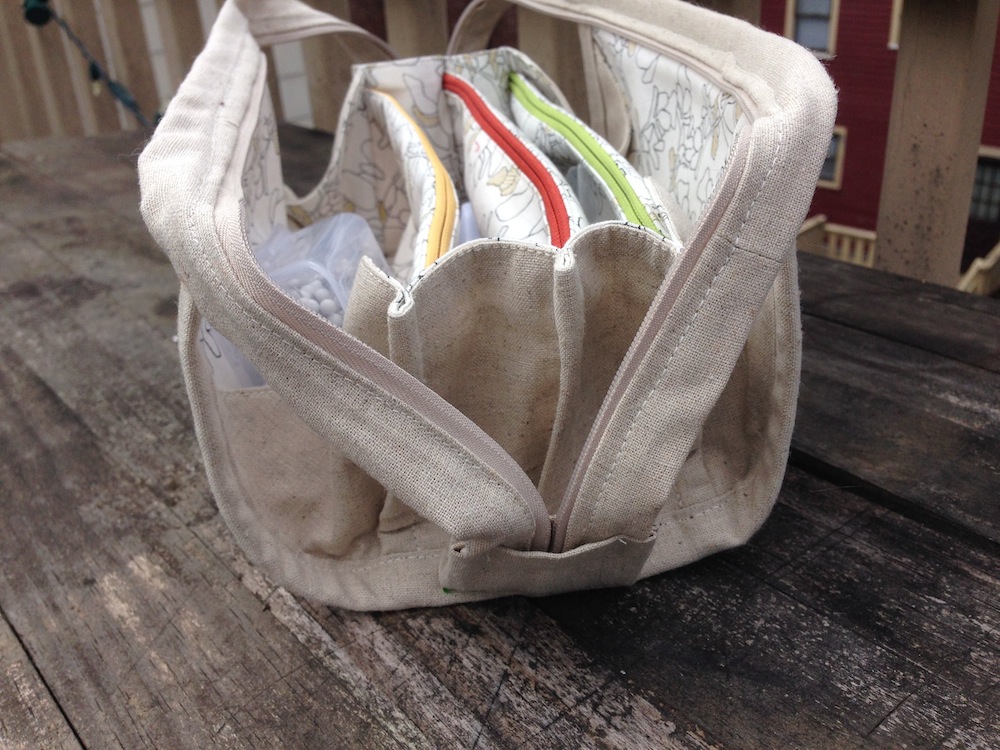
Two potholders in, and I already have more sewing supplies than I can comfortably carry around in my hand. The Sew Together Bag, which I was able to put together in a weekend with relatively little sewing experience and a little bit of bravado, is a pretty amazing solution to this problem. I love that it has a million (well, 7) pockets to separate my bobbins from my sewing machine feet from my pins, that it holds both my scissors and my rotary cutter easily, and that the way it’s designed allowed me to choose a bunch of coordinating colors (and matching zippers!) for one project.

Sew Together Bag (inside view)

Less than stellar things (mostly my fault):

  • I wasn’t paying attention and fused the interfacing to the outside (linen) side pieces, rather than the lining side pieces (pretty foliage). Not sure how much of a difference this ended up making in the final product, as you sew both pieces together right away, but it’s perhaps worth noting.
  • So. Many. Layers. At one point I think I was sewing through three layers of interfacing and eight or nine layers of fabric. My poor, poor, poor sewing machine. I gave up on the idea of attaching the zipper tabs to the bottom binding—there’s no way I could have wrangled the bag into the correct position, and even if I could have, I don’t think my machine could have handled it. I ended up tacking them on with embroidery floss instead, which so far is holding up just fine, but isn’t technically according to instructions.
  • I used invisible zippers instead of regular zippers because I bought the wrong kind and was too embarrassed to exchange them. Everything still works, but I would have liked the look of regular zippers better, and I think they would have laid better (especially the outside zipper, which is curling up on itself).
  • My seam allowances were a bit off for the binding around the top zipper, and I ended up having to make new zipper tabs for the top zipper because the final product was too wide. I’m assuming precision will come with practice, but trying to sew the bag to the zipper and the binding after most of it had been constructed was awkward.
  • Sewing the sides on: even though the bag is made, I’m still not sure exactly how I was supposed to match up the various edges/pockets. It all worked out in the end, but I could have used better guidance (and some photos) from the pattern.

Now: on to the good things!

  • So. Many. Pockets! No other bag I found had this many different compartments.
  • I loved the option to embellish the outside (patchworking/quilting, embroidery, etc.). I embroidered four simple straight lines across the front in colors that matched the pocket linings. I really like the way this came out.
  • Yay for surprise colored pocket linings! Double yay that they match the zippers—I love the pop of color when you open up one of the interior pockets.
  • It holds all of my stuff! Mission accomplished.

Sew Together Bag (side view)


PATTERN: Sew Together Bag by SewDemented (pattern from Craftsy)

FABRIC (all from Gather Here):
Outside and binding: Kona Essex Linen in natural
Lining: Carolyn Friedlander Botanics, Foliage in Charcoal
Pocket lining: Kona quilting cotton solids in sprout, sunny, and spice (I think; doing a bit of post-sewing color matching here….)

NOTIONS:
Zippers from Gather Here
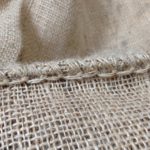
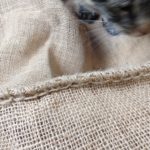
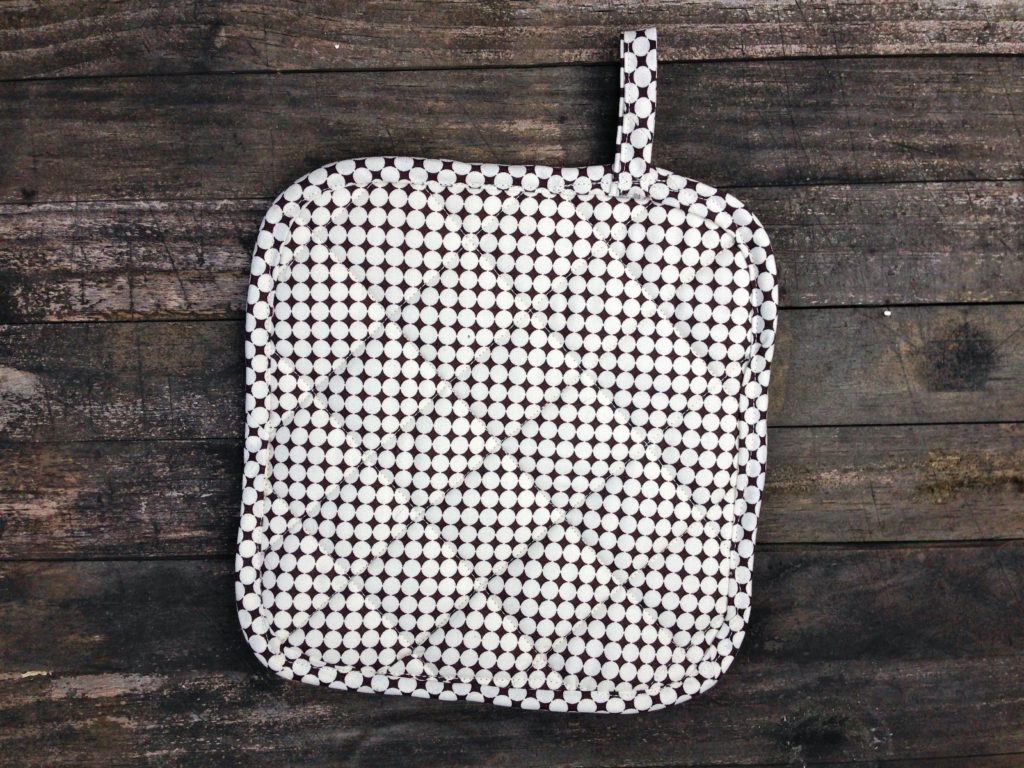
Thread from the Cambridge Quilt Shop, left over from the quilted potholders
Embroidery floss from a giant craft pack I bought to make friendship bracelets with for a costume (I pulled the threads apart and used half of the strand, instead of the full 6 threads)

Quilted potholder, round two

I made another thing!

quilted potholder

After my first try at quilting a potholder, I decided to give things another go using straight quilting lines (as opposed to crazy free quilting) and rounded edges (necessitating actual bias tape, which I made myself using this diagram and this tutorial). Verdict: success! Though there were a few bumps along the way:

  • I had trouble attaching the hanging loop—I couldn’t figure out how to hide the raw edges without folding everything over over and creating crazy amounts of bulk
  • I had wanted to hand finish the binding, but I ended up going the quick & dirty route with my machine. The top stitching is all over the place.
  • I didn’t do the math correctly when making the initial square for the bias tape, and ended up with much smaller/awkwardly cut tape than I wanted. I made it work, but it wasn’t as pretty or even as it could have been.

These were outweighed by the good things:

  • The quilting on this is simple, but I like the way it came out.
  • Rounded corners! Without too much horrid bunching in the binding!
  • Despite the missteps, I made my own bias tape! New skills = awesome.

PATTERN: of my own devising, inspired by this tutorial from Birch Fabrics

FABRIC: a print (I discarded the selvage and don’t remember what it was—sorry!) I bought at the Cambridge Quilt Shop

BATTING: One layer of Insul-Bright; two layers of Warm & Natural

THREAD: 100% cotton quilting thread, also from the Cambridge Quilt Shop