I’m pretty sure I screwed up my time zone conversions and am submitting this a few hours late, but OH WELL. I had fun.
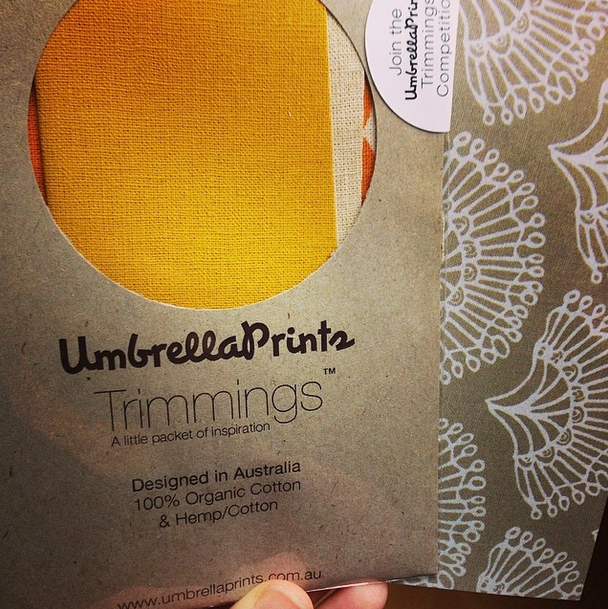
The Umbrella Prints Trimmings Competition was a surprisingly interesting challenge. The total amount of fabric you receive is pretty slim, so it takes some creativity to figure out how to make the most of it. My goals were:
- Do something I hadn’t done before: namely, improv piecing.
- Make something I’ll use (almost) every day: a bag for my yoga mat, with pockets so I’m not awkwardly stuffing my jacket pockets full of keys, wallet, phone, and a water bottle.
- Showcase the Umbrella Prints fabric as well as I can.
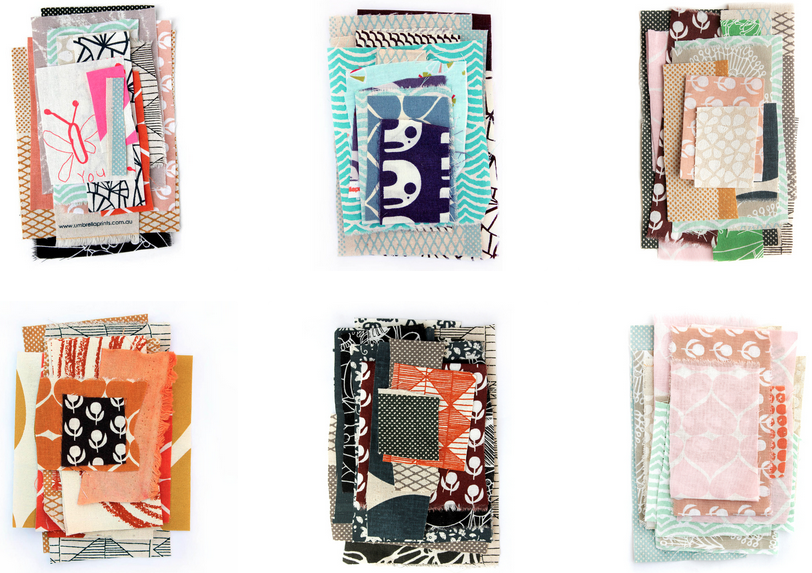
My approach to showing off the (awesome) fabric was to combine the bright yellows and oranges and firey crimsons of the “Earth” packet I chose with a muted blue canvas, so they would really pop. My approach to improv piecing was to just run with it. My approach to making a yoga mat bag was also to just run with it, which turned out to be the hardest part of this whole thing.
So first: the fabric.
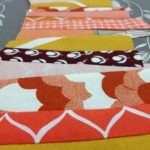
Gorgeous, right? The second I saw the Earth packet I knew that’s the one I’d be using.
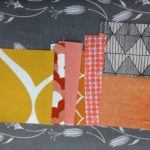
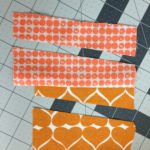
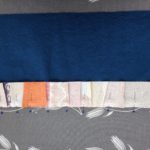
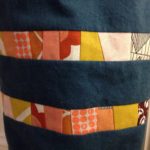
Once I opened up the packet and ironed out the few wrinkly bits, the improv piecing bit came easily. I found this post by Kelly of My Quilt Infatuation to be helpful in bolstering my courage, and then I pretty much went for it. My goal was to end up with two long strips of randomly assembled bits of fabric.
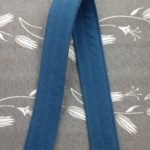
Next step: throw caution to the wind, ignore the many excellent patterns and tutorials out there, and decide you want to a) use a zipper; b) have that zipper be shorter than the length of your bag; c) draft a pattern entirely from scratch.
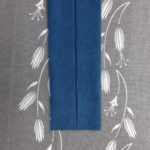
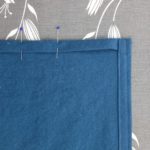
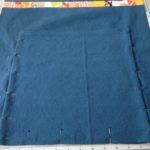
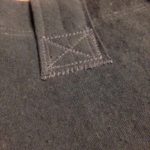
The pocket and strap bits went well, as did inserting the strips.
I even managed to insert the zipper without too much fuss!
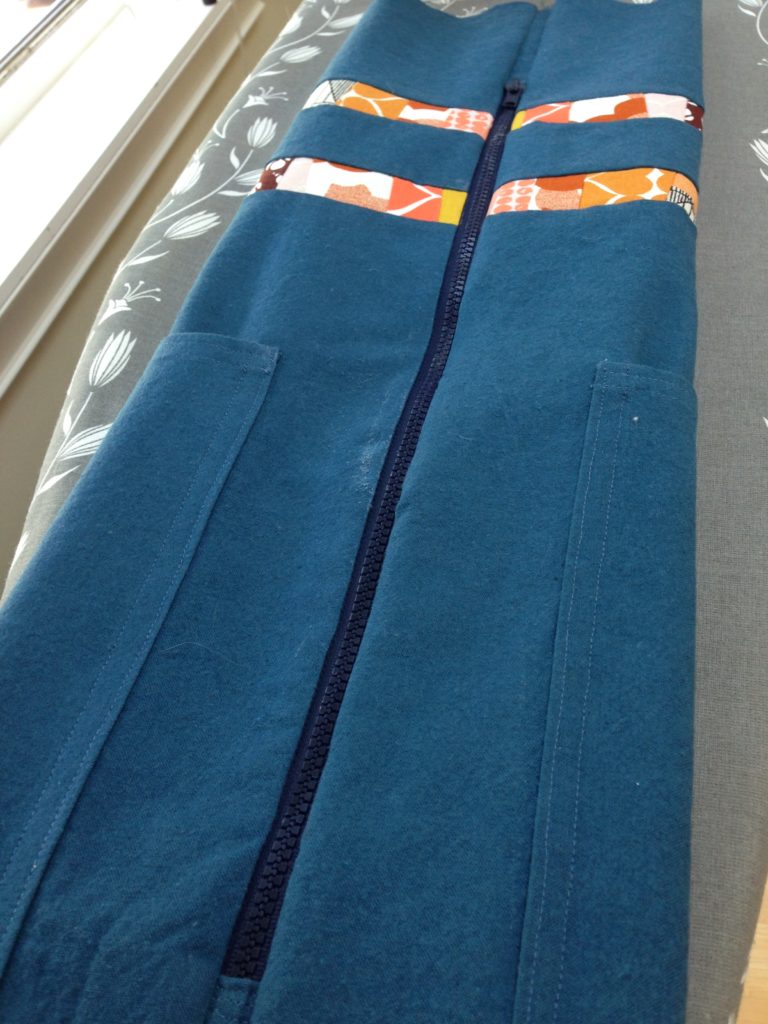
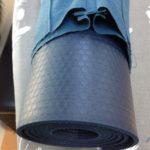
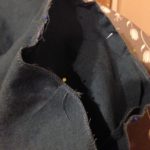
And then I crashed hard into the brick wall of “yoga mats, once rolled up, aren’t actually that bendy” and “cotton canvas, especially when lined, isn’t actually that stretchy.” In other words: see how the zipper is centered along the length of the bag? I could slide my mat into one end, but in order to slip the other end of the bag up over the mat and zip up the bag, I needed to bend the rules of matter.
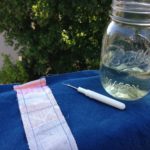
Fail. I almost gave up at this point, but Mr. Jones convinced me to spend some quality time on our porch this weekend with my seam ripper and a helpful beverage.
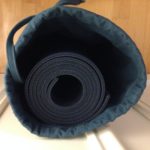
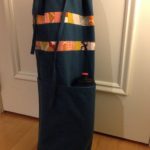
After ripping out the zipper, cutting and sewing in two new additional panels (one for the exterior and one for the lining) to make up for the lost circumference, and resigning myself to the use of a drawstring instead of a zipper, I was back on track.
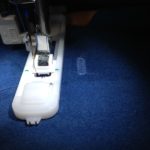
Bonus: using a drawstring meant I needed sturdy openings for said drawstring, which means I got to sew buttonholes for the very first time! After that, all I had to do was turn down one edge to make the channel for the drawstring and attach the bottom panel and strap.
Voila: bag.

