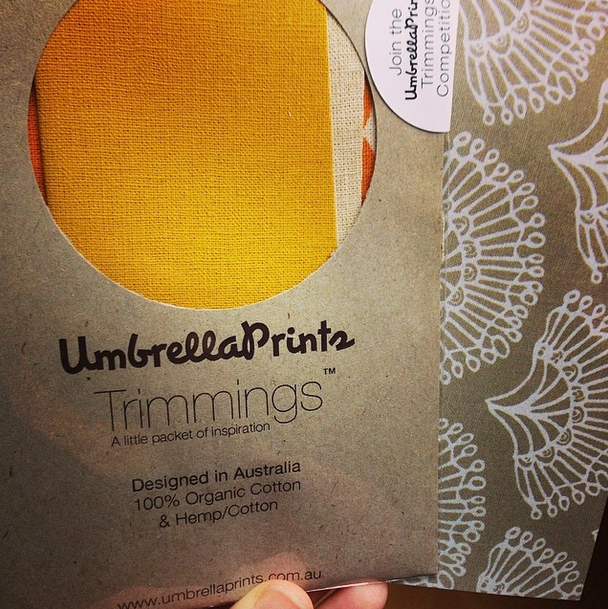
My Umbrella Prints trimmings packet arrived today! Can’t wait to sit down with the fabric and make something beautiful.

My Umbrella Prints trimmings packet arrived today! Can’t wait to sit down with the fabric and make something beautiful.
Whatever will I make?
I stumbled across Umbrella Prints a few weeks ago while taking a lazy tour through a bunch of new-to-me sewing blogs. Turns out I discovered the Australian company, which makes beautiful organic printed fabrics, just in time for their 2014 trimmings competition, which challenges artists, seamsters, and crafters of all types to make something awesome out of a packet of leftover bits of fabric. The competition is in its fifth year, and previous winners have included this bright pink fish puppet, a jaunty mask and crown, a gorgeous art book, a matching set of sewing accessories and stationery, and an entire collection of whimsical collages.
This year’s competition is already underway, with entries due on May 30. Six different packets are available on Etsy or directly from the Umbrella Prints shop. And they’re beautiful.
I ended up going with the “Earth” packet on the bottom left, a set of bright reds and yellows and oranges that I am so excited to work with. Now I just have to wait for it to ship from Australia….
(Want to play along? Full rules and information are here.)
Quilting appeals to the math and pattern side of my brain. Making my own clothing appeals to the side that is easily seduced by “30% off dresses today only!” emails.
At the beginning of the year I decided to stop buying clothes.* I’ve given in to the flurry of “30% off today only!” and “[obscure holiday] weekend sale!” emails from way too many retailers, and my closet is full of clothes I bought because they were seemingly affordable, not because I actually liked or needed them. (Pro tip: if you never wear it, that sweater you found for 60% off was not actually a good deal.)
A month or so ago I signed up for Unroll.me to hide all of those emails, which has gone a surprisingly long way in cutting down on my unnecessary shopping. I also started sewing (um…in case you hadn’t noticed), which has opened up a pretty sweet world of custom-made clothing.
My first attempt dress making felt like I had conjured magic out of thin air. That’s not to say the end result was perfect—if you look closely at the neckline or the sleeve hems, you can see how I accidentally stretched the fabric out when I was pressing it, so everything is a little bit crooked. And the color is…vibrant? I’m proud of it (I MADE A DRESS), but I haven’t yet mustered up the courage to wear it to work (some day! soon. I promise).
I’m not ready to give up, though. I’ve been wandering around the blogosphere, stumbling upon patterns that make me want to permanently abandon buying new clothes in favor of sewing everything myself (dresses? obviously. but also workout clothes and a bright yellow hoodie and fancy tailored shirts!). Behold the amazingness:
1. Albion Jacket, Colette Patterns
2. Coffee Date Dress, Pattern Runway
3. McCall M6657: Misses’ Unlined Coat, View B, modified and sewn by Nikki Brooks-Revis of Beaute’ J’adore
4. Nicola Dress, Victory Patterns
5. Sorbetto Top, Colette Patterns, modified and sewn by Lizz of A Good Wardrobe
6. Victoria Blazer, By Hand London, sewn by Leila of Where the Orchids Grow
*Err…mostly. This year has a few obvious exceptions (exhibit A: a wedding dress, which I feel neither confident nor qualified enough to attempt), but the gist is to only buy the things I need, as opposed to the things I think I want when I’m bored.

Can’t decide if this looks more like a fireworks display or an alien life form. Or a really cool plant.
In which I make a dress. To wear. On my body. In public.
April Rhodes’s Date Night Dress seems to be the thing all the cool kids are sewing these days. Luckily for me, it also seemed to be fairly easy for a beginning sewer (sewist? seamster?). And best of all: it only took me a weekend* to put together.
I forget how I first ran across the pattern, but it stood out because it’s so much like all of the dresses I have in my closet: fluttery sleeves, knee length, loose for comfort but belt-able for shape. I was hesitant to jump into the world of garment making (it’s worth reminding you that at this point my total sewing project tally is one bag, two potholders, and one quilt top), but the pattern looked forgiving enough—and the potential end result awesome enough and totally my style—that I decided to go for it.
Step one: print out the pattern and tape it all together. This step took place at roughly 6:30 on Saturday morning (thank you, internal alarm clock, for preventing me from sleeping in…ever) with some assistance from Margot:
I ended up cutting the borders off of every other pattern piece in the grid to make aligning them and taping them together a little easier. Once I had the edges cut off, it went together fairly quickly. Things got a tiny bit wonky toward the bottom right of the pattern (the bottom center of piece B, the back of the dress)—I ended up with extra space between the printed pages, which made the piece a bit wider than it should have been. This wasn’t a disaster, though, as I had planned to transition from a small on top to a large on the bottom (hello world: this is me announcing I have tiny shoulders and less than tiny hips. you’re welcome.). I went with a medium on the bottom instead, to account for the accidental extra width I created when taping things together, and it all worked out.**
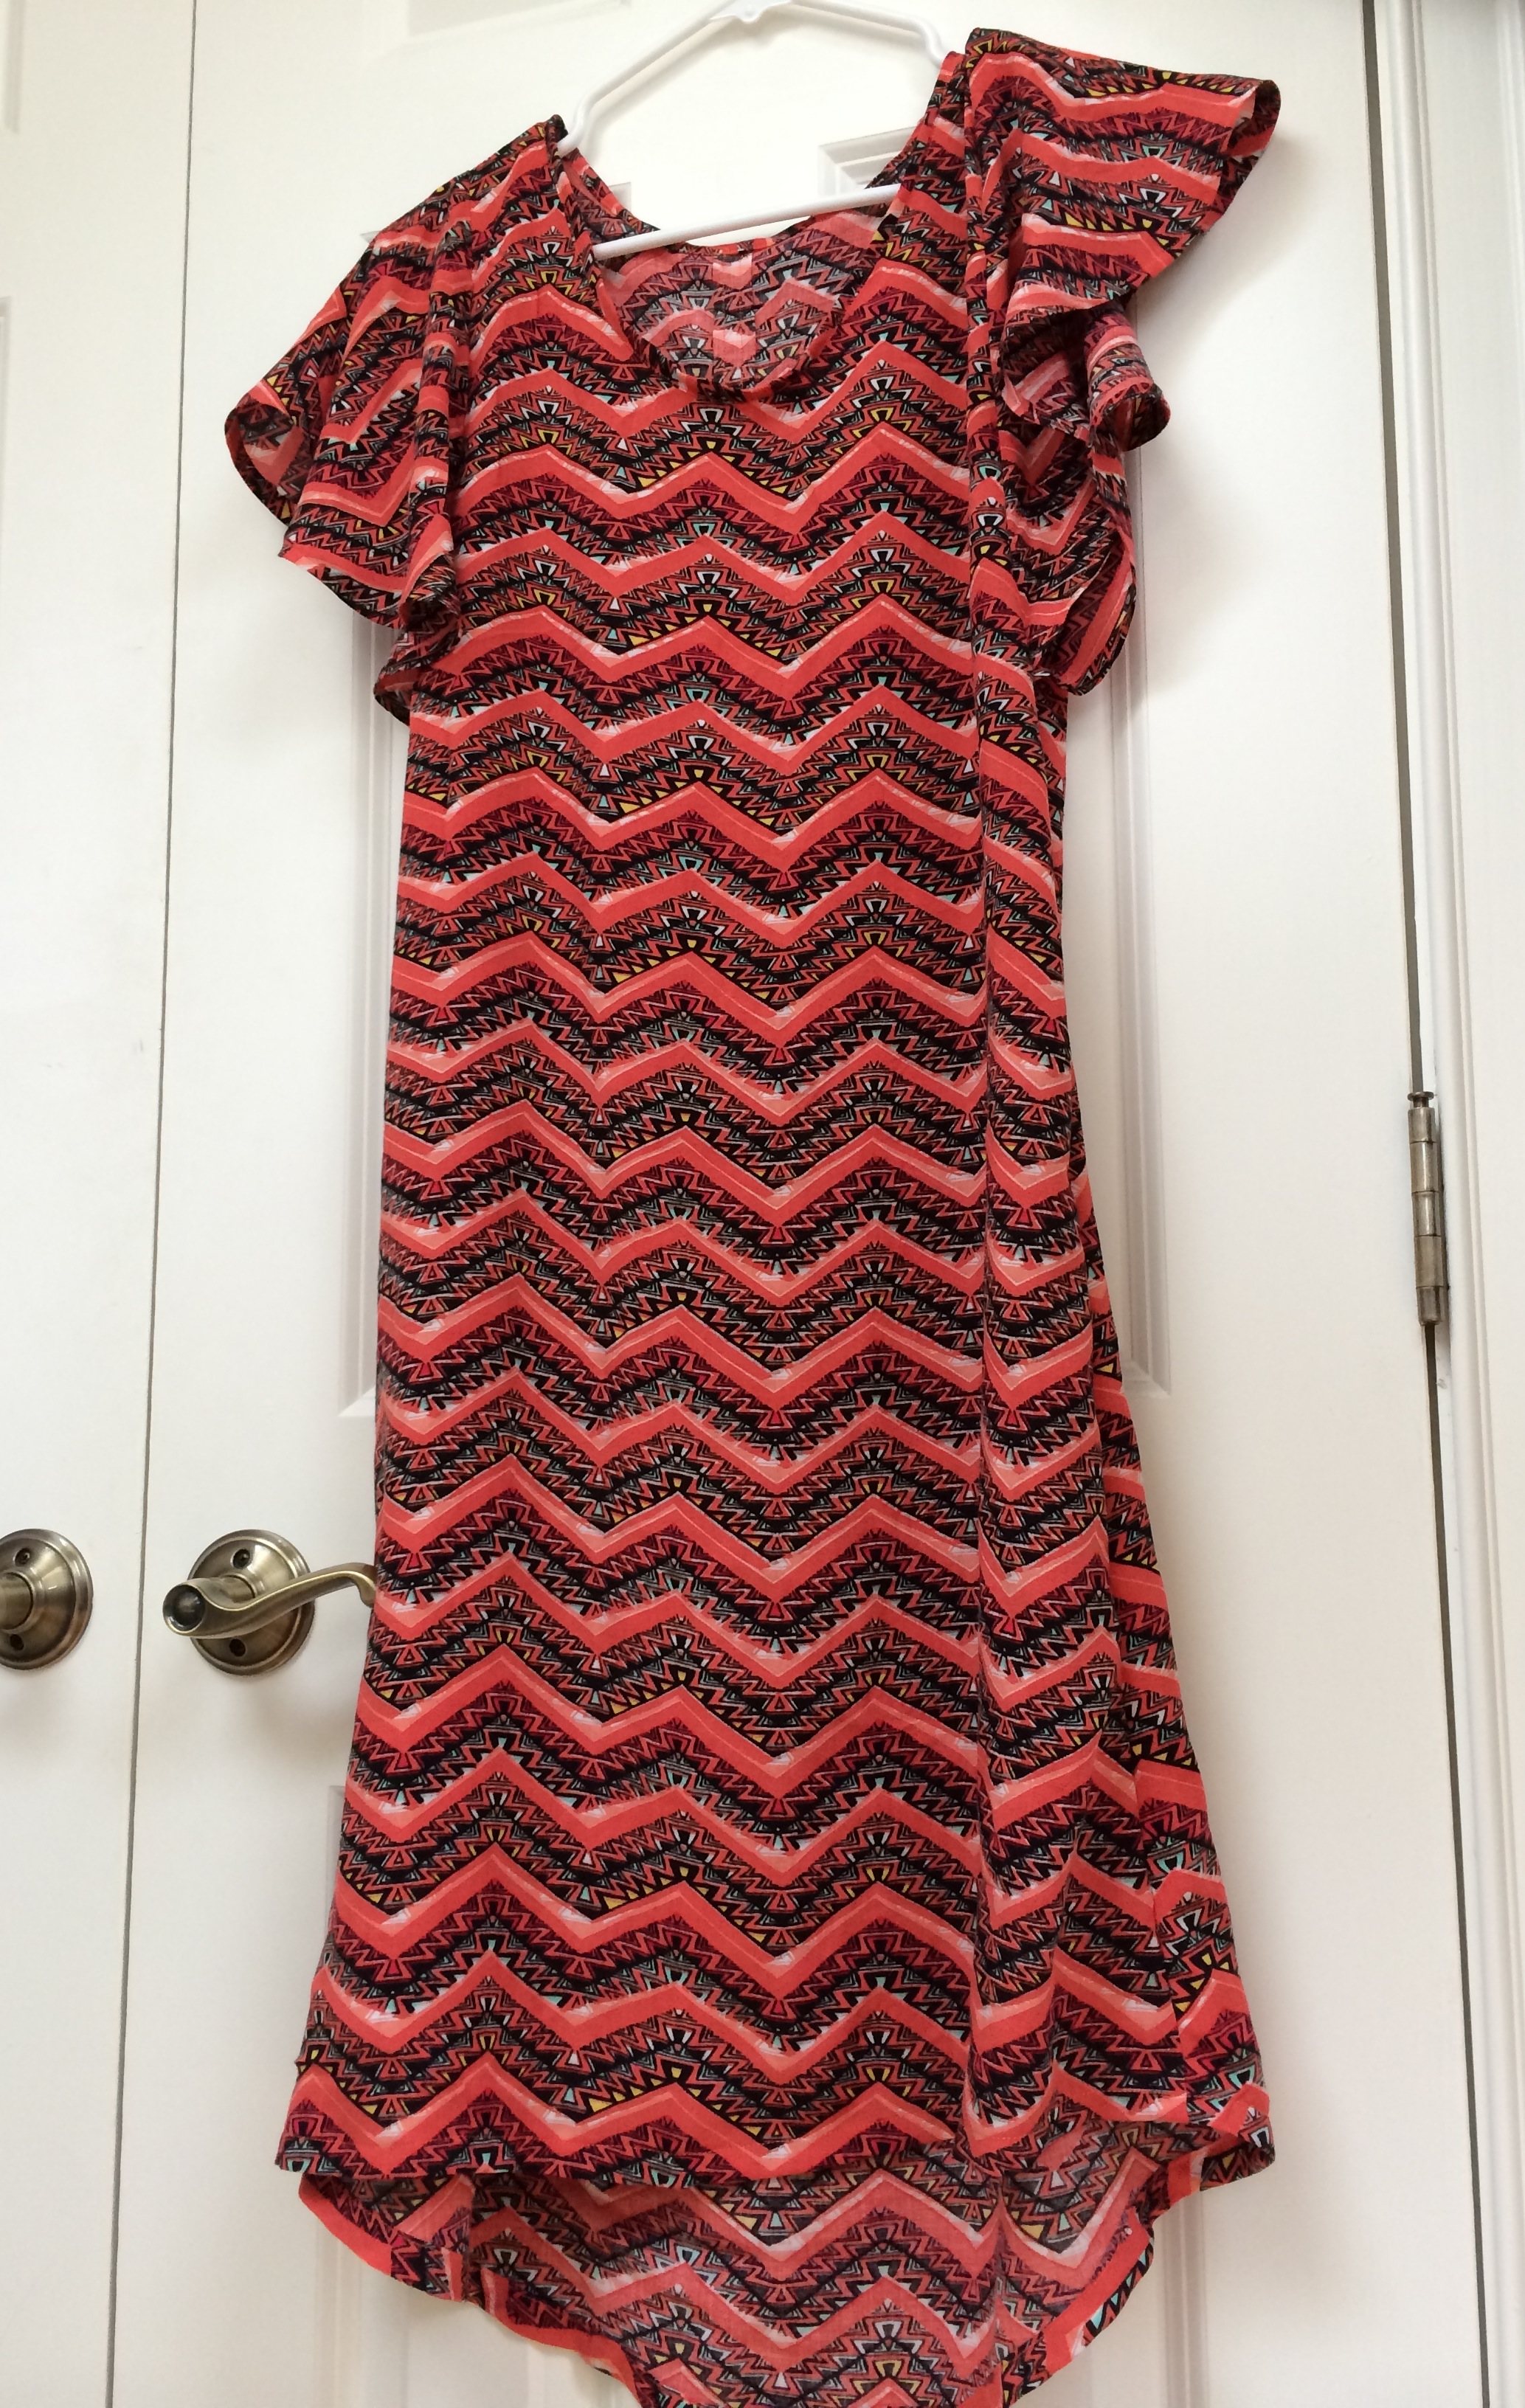
Step two: lay out the bright orange zig zag rayon challis and marvel at its bright orangeness.

Step three: curse words “rayon challis,” which you had never heard before deciding to make this dress out of fabric purchased online, for being the thinnest, stretchiest, slipperiest fabric ever. I don’t have a big enough table to handle laying out anything but quilt blocks right now, so I mopped the kitchen floor and attempted to spread out the fabric and pin on the pattern pieces there. Even there, with nowhere for the fabric to fall/pull/stretch, it stretched. I bravely soldiered on, but I note it here so that if you, like me, are brand new to all of this, you’ll know that it’s probably a good idea to touch a fabric in person before committing to sewing a dress out of it.***
Step four: pin and cut.
Step five: sew the most adorable box pleat in the history of the world. Fall in love with box pleats and how adorable they are.

Step six: sew the rest of the dress. Really, it’s pretty much that easy. April gives amazing step-by-step photos and incredibly clear instructions. The hardest part is getting your fabric to obey (see step three). I used a ton of pins, probably a little too much steam, and cut myself a bit of a break for being a first timer.
Step seven: chicken out of actually modeling the dress, and instead hang it on a hanger and admire it from afar.

In case you somehow missed it, I MADE A DRESS. TO WEAR. THAT IS HANGING IN MY CLOSET WITH ALL OF MY OTHER ACTUAL CLOTHES.
It was a pretty good weekend.
* I’m betting that if I had chosen a less stretchy/slippery fabric, I could have finished in one day, but quadruple-checking to make sure that everything was properly aligned before I pinned it took extra time.
** Similarly shaped? As it turns out, you don’t need to worry—the dress has enough room that I could have gone with a small all the way down and been fine.
*** I ordered the rayon challis along with a striped cotton shirting fabric that I suspect will be a bit easier to work with. I would have used this first, but it’s a little bit sheer, and I don’t have the right color of tank top/tights to wear under it. A good reason to make the simple slip pattern that comes with the dress pattern, I suppose….
PATTERN: Date Night Dress by April Rhodes
FABRIC: “Rayon Challis Zig Zag Orange” from Fabric.com (the same pattern also comes in teal)
NOTIONS: Metter Cotton All Purpose thread in Clay (this was fairly light against the fabric, but the zig zags are crazy enough that it sort of blends in)
TIME: Roughly an hour to cut and tape the pattern (probably less if a cat hadn’t been all up in my business). Another hour to pin and cut out the pieces (again, probably less if I had used a better space than my kitchen floor and if my fabric hadn’t been so awkward to work with). Two and a half hours of sewing on Saturday; two more on Sunday. Six and a half hours total, some of which was spent multitasking.