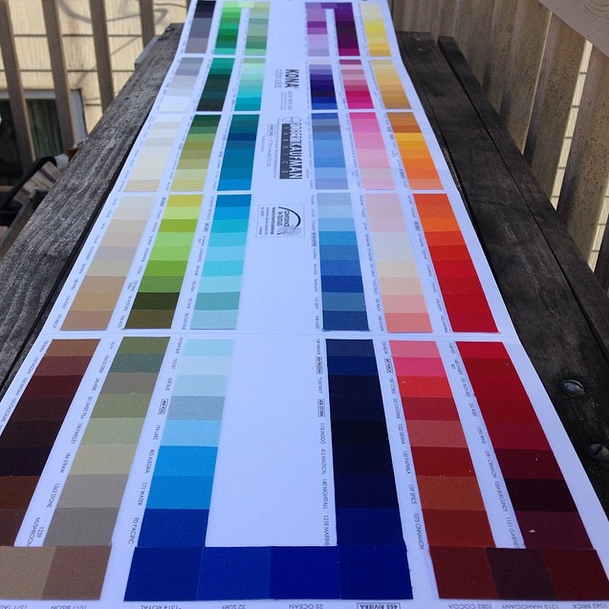
My Robert Kaufman Kona Color Card arrived today. It’s so pretty I might cry.
My Robert Kaufman Kona Color Card arrived today. It’s so pretty I might cry.
I have a lot (a lot) of projects planned.
So many beautiful plans I’ve made, and so little time I’ve spent working on them. I’m writing this mostly to give myself a firm nudge by publicly committing to making beautiful things, rather than just dreaming about them.
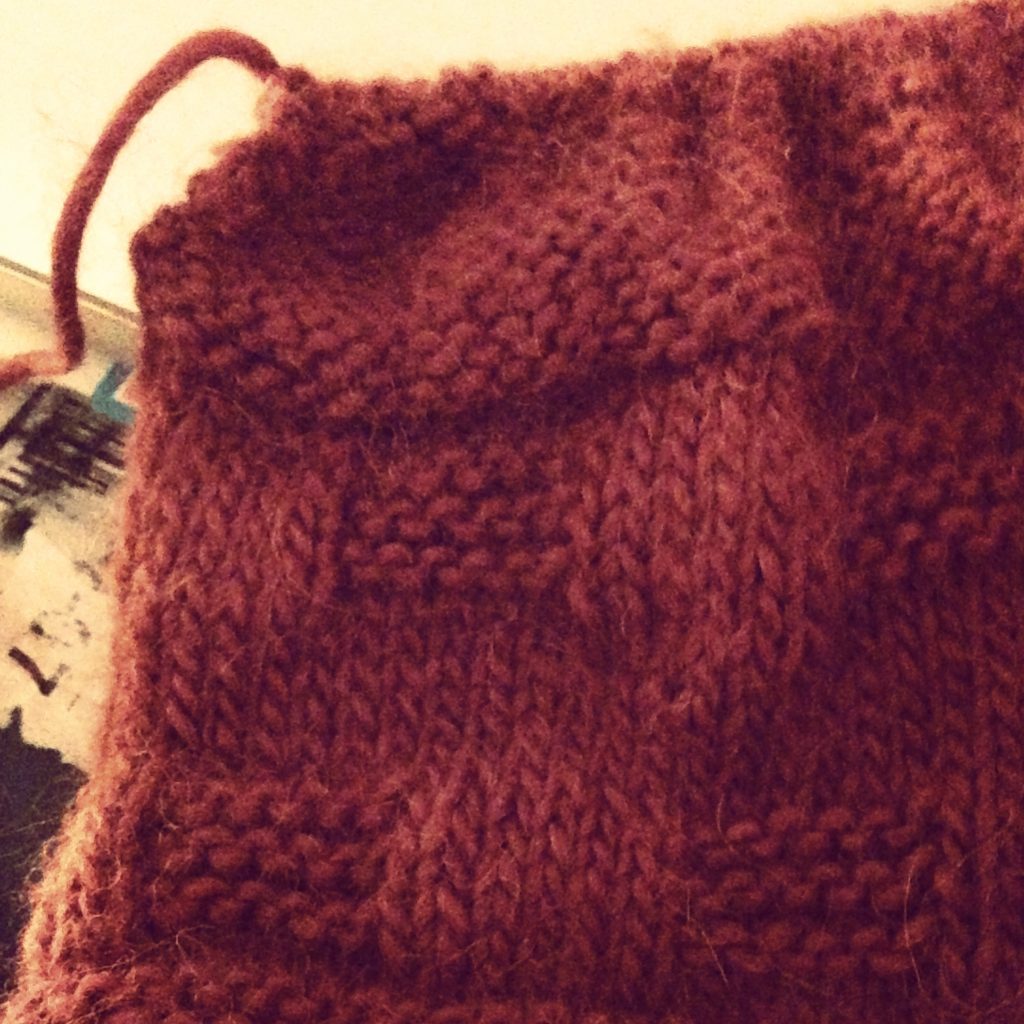
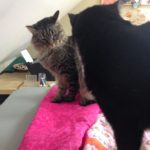
So: work continues on the hat, which at this point looks like a slightly misshapen rectangle (I started with 84 stitches—I swear, I counted them thrice—but found myself working with over 90 the other day. How?) and has barely escaped the clutches of my overly curious cats multiple times over the past few weeks. (My beautifully wound ball of yarn is now an unwound tangle, thanks to them.) I’m nearly at the finish line, I think, and am hoping to be even closer after tackling the last few dozen rows at tomorrow’s office knitting club and again at Saturday’s Crafter’s Brunch at Gather Here (do you go to this? do you want to go? I’m thinking about bringing muffins to help introduce myself and convince people there to be nice to me and teach me how to properly cast off).
Work also continues(-ish) on the peach and gold quilt, which I thought I had blogged about much more but am now realizing I haven’t. To catch you up:
This is the first quilt I ever started making, thanks to the “Start Quilting” class at Cambridge Quilt Shop. It was relegated to the back burner while I rushed through the Quilts for Kids quilt, but I finished the top over a month ago, pieced together the backing without having to buy any new fabric (quite proud of this), and finally sandwiched it together a week or so ago. I’m looking forward to finishing it, which seems like it will mark my transition from someone who made a quilt once to someone who actually makes quilts, plural.
Other upcoming projects: a chenille blanket, another simple four-patch quilt, a Noodlehead Super Tote to protect future knitting projects from inquisitive kitties, a Zippy Top or two from See Kate Sew, and something still TBD for the Umbrella Prints 2014 trimmings competition, which is due May 30 so should probably be bumped nearer to the top of the list.
Typing it all out now is a bit overwhelming, but I suppose that’s all the more reason to start?
I made a whole quilt!
In addition to picking up knitting this weekend, I also finished my first-ever quilt: it is officially quilted, bound, labeled, folded, and packed up to ship back to Quilts for Kids. If you’ll be so kind as to hold on for a moment, I’m going to FREAK OUT ABOUT HOW I ACTUALLY MADE A WHOLE QUILT.
Ahem.
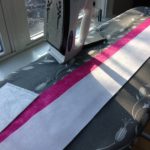
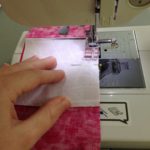
When I last posted about the quilt, I had just started quilting by using my sewing machine to “stitch in the ditch,” or stitch along the seam lines formed when assembling the top. I admit to prioritizing speed over precision here a bit:
As it turns out, quilting like this isn’t particularly thrilling. I’m finding it more of an exercise in repetition and meditation. Also, watching Netflix helps.
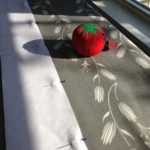
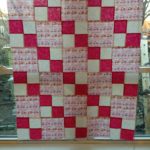
Once I had all of the horizontal and vertical seams quilted, the quilt looked like this:
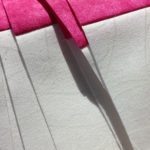
I went back through and quilted diagonal lines as well, to comply with the QFK rules on how close quilting lines should be. The next step was to trim the batting and the backing.
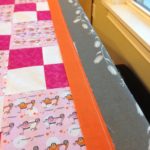
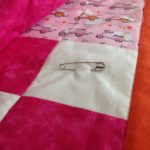
I folded the back over the edges of the quilt to bind it, rather than using a separate binding, following the step-by-step instructions in the Quilting By Machine Singer Sewing Reference Library (which I picked up for $3.00 at a used bookstore—yay!). The book recommended trimming the batting 1/4″ from the edge of the quilt top, trimming the backing 1″ from the batting, machine basting around the quilt 1/8″ from the edge, folding over the backing twice, top stitching, and then removing the basting. For what it’s worth: removing the machine basting took longer than all of the other steps combined, and I’m pretty sure I could have skipped it.
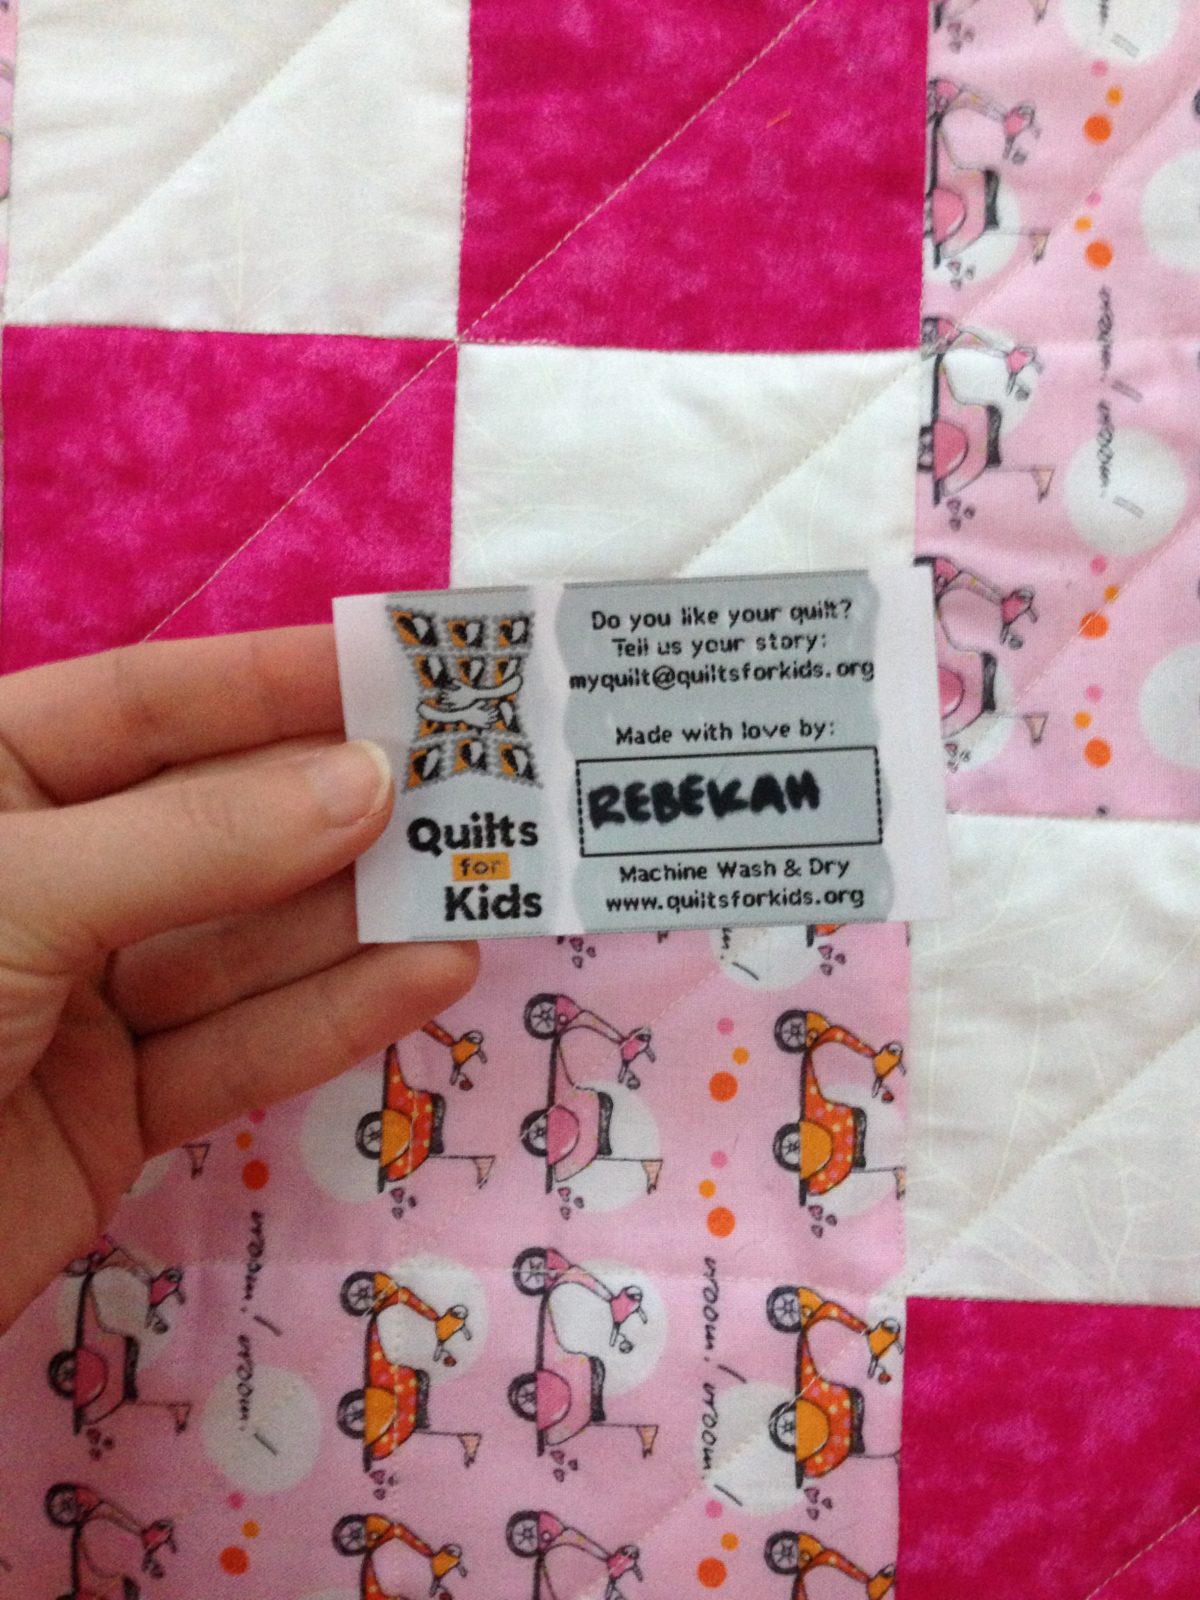
I zigzagged the binding rather than doing a straight topstitch (zigzagging helps the quilt avoid snagging on IV lines and other medical equipment). Once I finished the binding, I sewed on the label they provided, washed and dried the quilt, and got super excited at the thought of sending my first ever quilt out into the world to be used and (hopefully) loved. YOU GUYS! I MADE A THING!
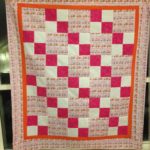
Quilts for Kids quilt
Finished size: 36.5″ x 41.5″
PATTERN: Simple four-patch provided by Quilts for Kids
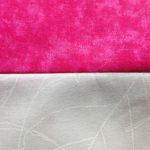
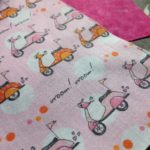
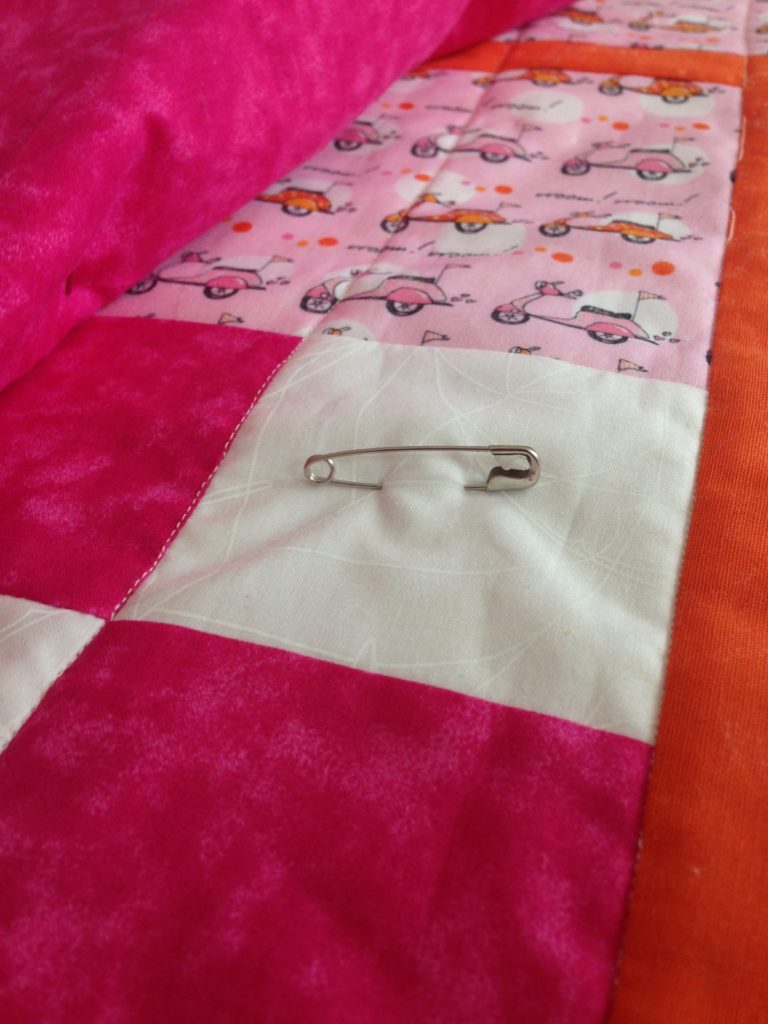
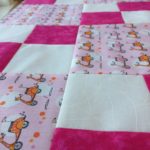
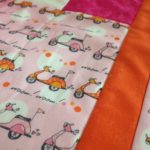
FABRIC (all provided by QFK): hot pink and white batiks; solid orange; pink and orange “vroom! vroom!” scooter print from Monica Lee Timeless Treasures (Google tells me this is no longer in production, but you can pick it up on Etsy or eBay)
NOTIONS: Mettler Silk Finish Cotton Thread in Muslin, Quilter’s Dream 100% cotton batting (Request, which is their lowest loft)
TIME: I made this quilt over three weekends (see part 1 and part 2), working maybe 5-6 hours per weekend. The fabric came pre-cut, which definitely saved time. On the first weekend, I assembled all of the four-patch blocks and started sewing them into rows. On the second weekend, I finished the rows, sewed the rows together, added borders, pinned together the quilt sandwich, and started quilting. Last weekend, I finished quilting and bound the quilt. Ta-da!
In which I make it to the actual quilting part of quilting.
In between singeing my taste buds off and watching a ton of Ugly Betty (how did I miss this show when it aired?), I put in a few more hours on my Quilts for Kids quilt this weekend.
Last weekend I pieced the four patch blocks and started sewing them into rows, alternating with solid blocks of this fun pink and orange scooter print. This weekend I finished the rows, sewed them together, added borders, made my first “quilt sandwich,” and (!) actually quilted something. Ta-da!
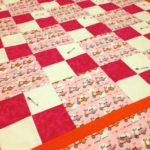

I can already tell that the kid who gets this quilt is going to be awesome.
I posted a few weeks ago about signing up for Quilts for Kids, a project that donates handmade quilts to kids who can use them. My quilt kit arrived right before I left town for a few days to make paper flowers and hang out in my favorite city on Earth, and I couldn’t find a time to sit down and open it until yesterday morning.
Verdict: it’s pretty cool, and I’m SO EXCITED for the kid who gets this quilt. The kit comes with a simple pattern (mine is a simple four-patch that alternates with a plain block) and all of the pre-cut fabric you need for both the front and back. All you need to do is set up your sewing machine and go. Which I did, with glee.